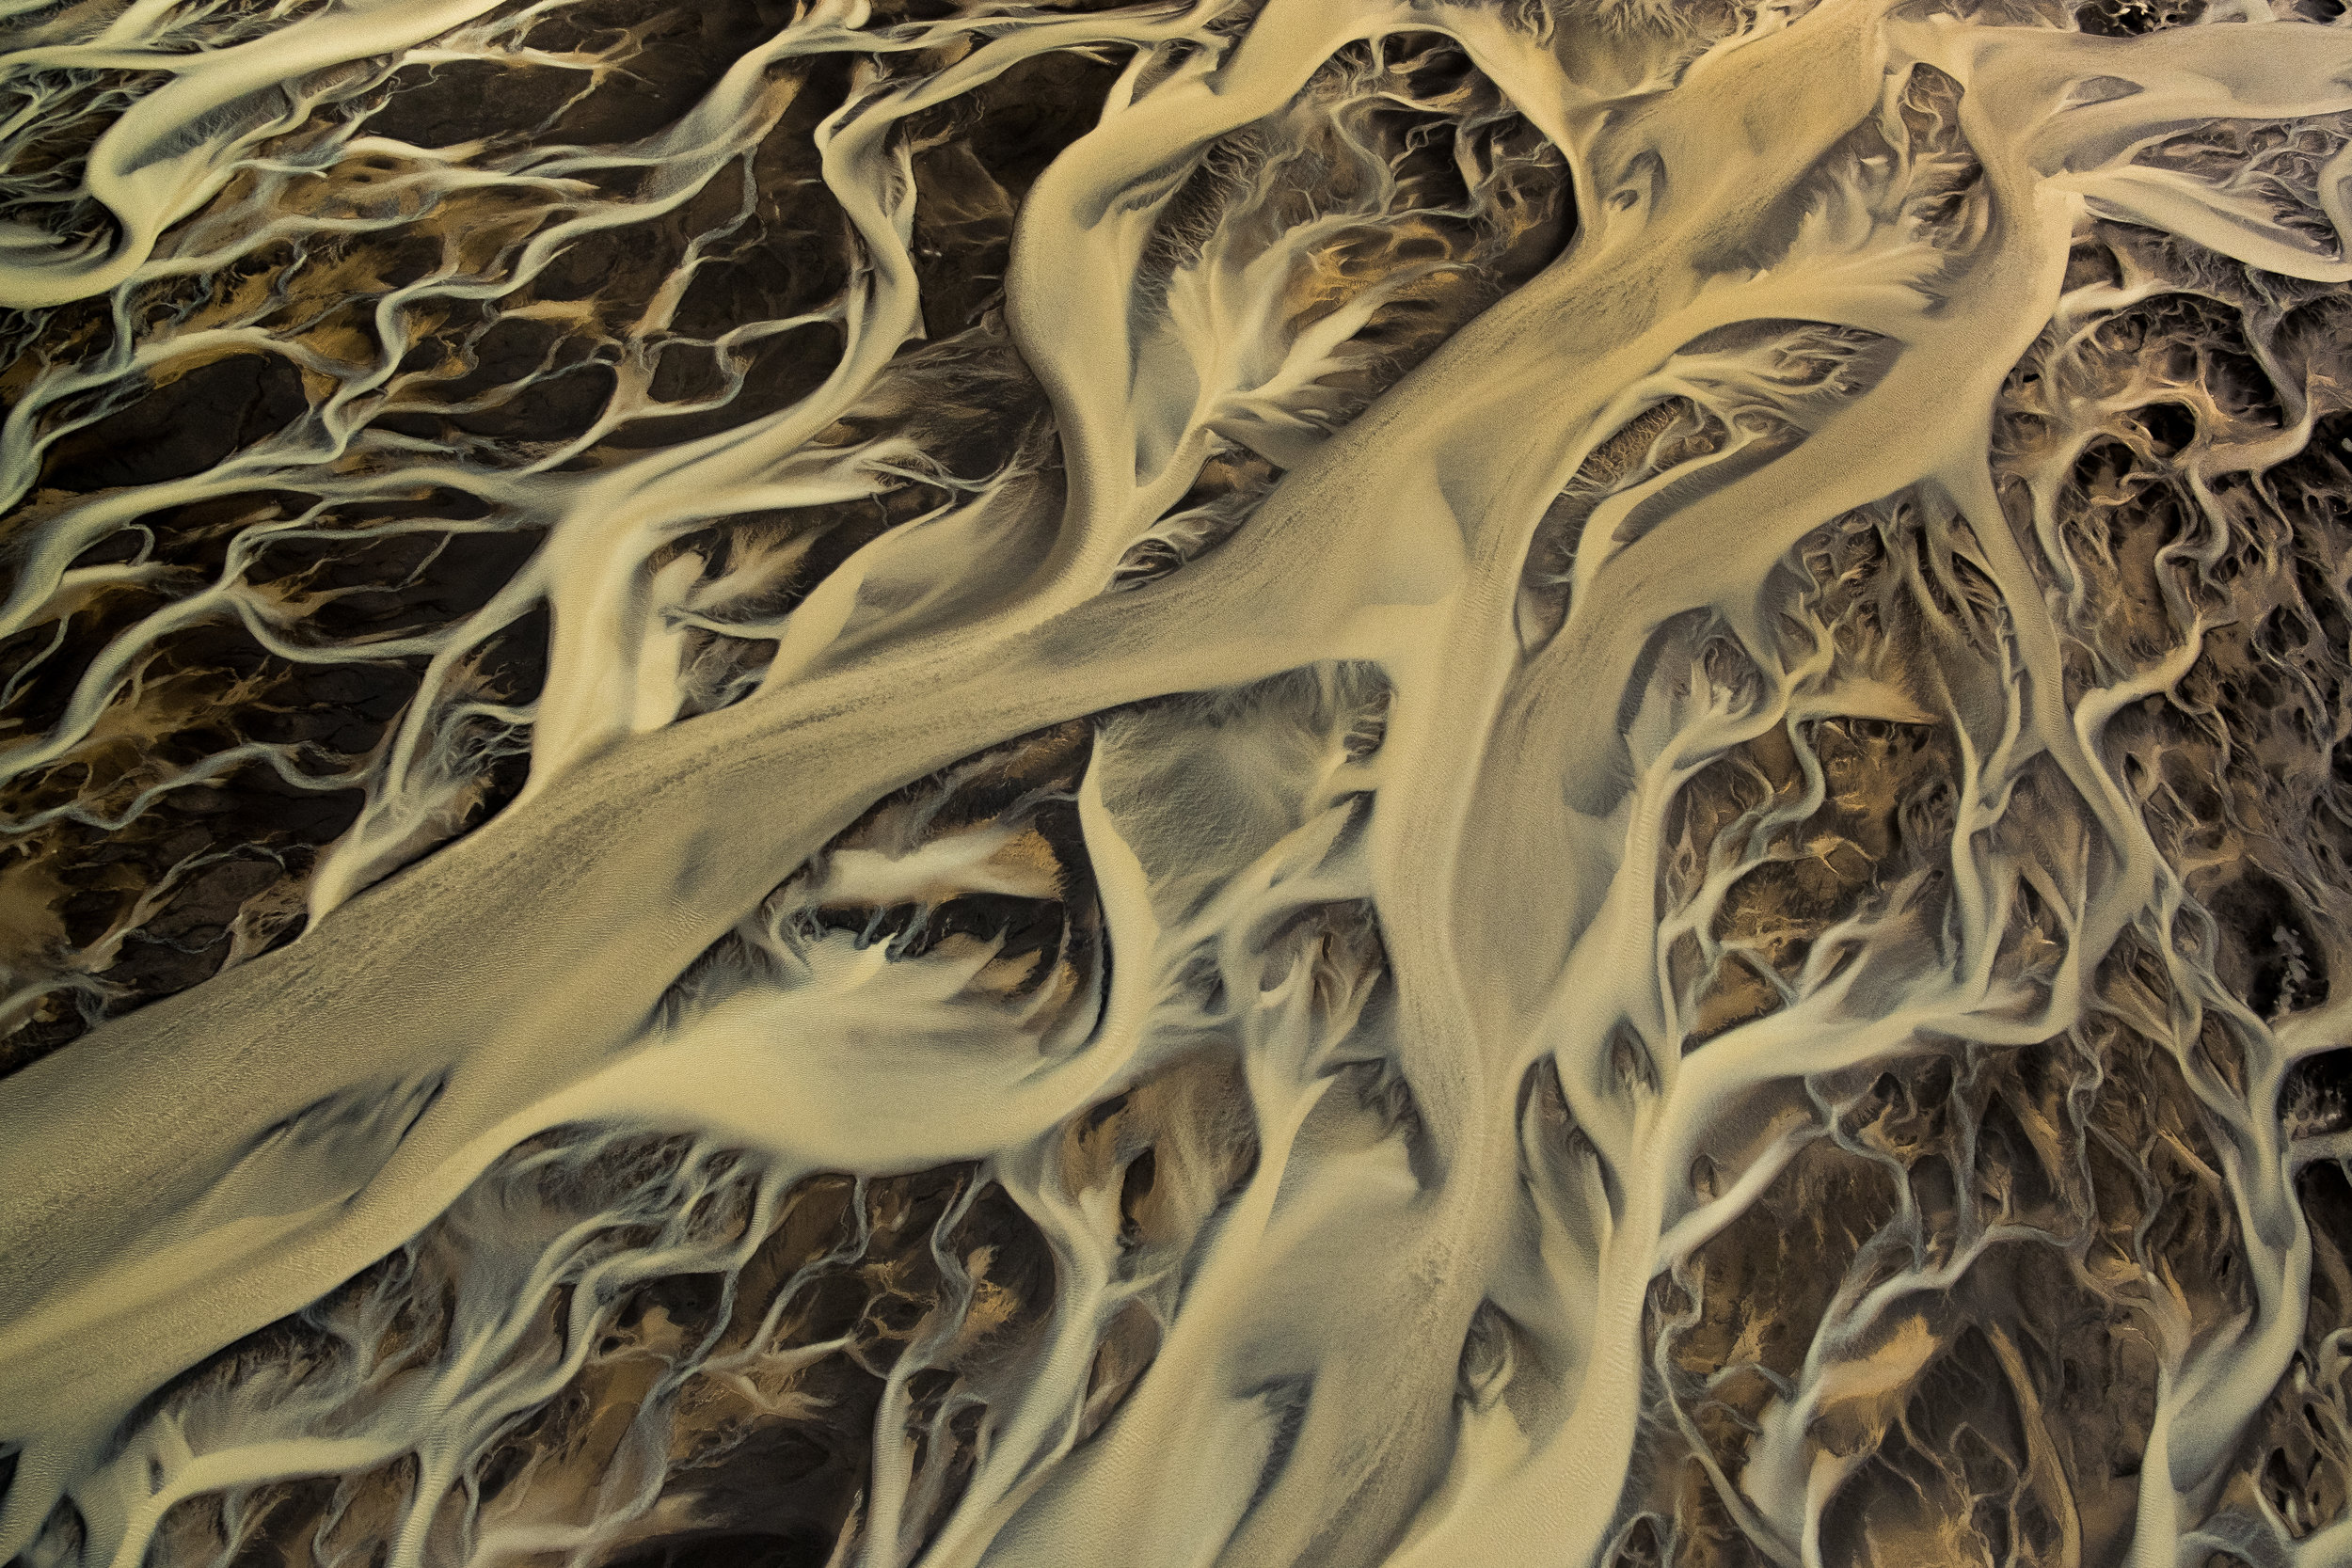
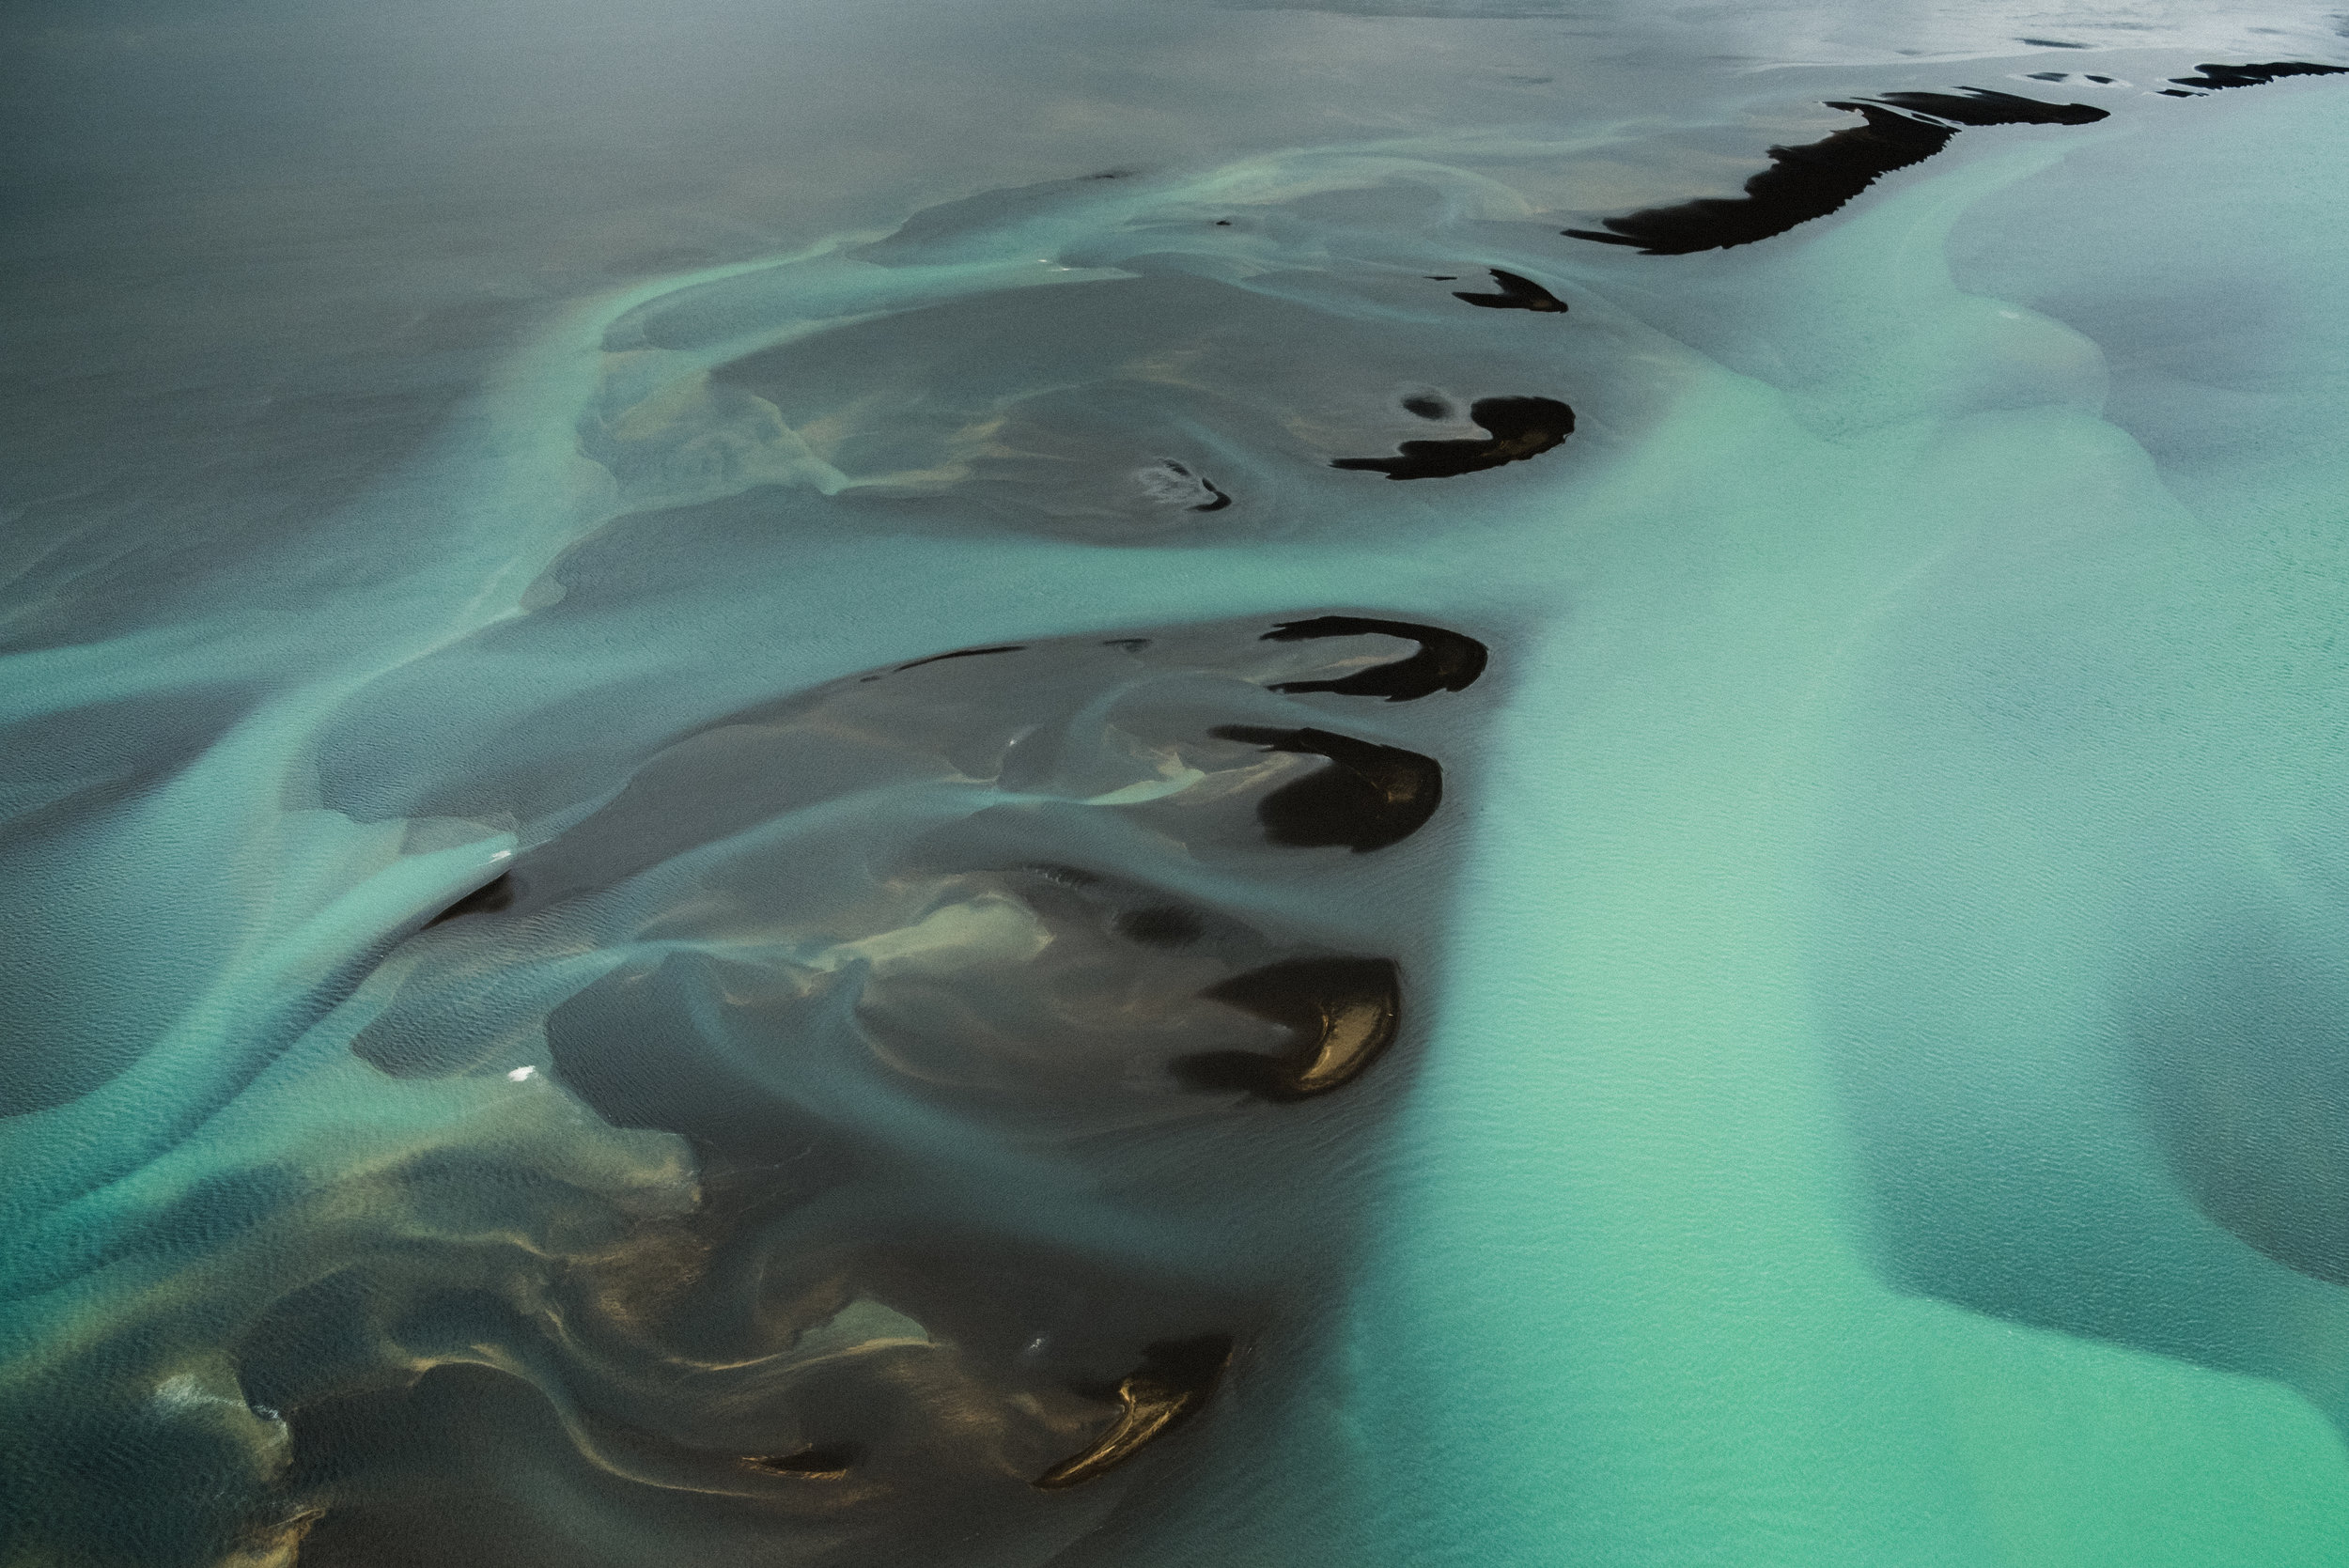
There's a new wave of aerial photographers thanks to the technological advancements of drones. Drones can go where small planes or helicopters cannot and take decent quality pictures, depending on how much money you want to spend. Although they are quite accessible and convenient, there is nothing like soaring through the clouds yourself, rather than looking on your iPhone screen. These thoughts led me on my first aerial photography mission this summer in Iceland. I chose Iceland due to the fact that it has the most extreme and diverse landscape imaginable. It truly feels like you’re on another planet. Its river systems in particular interested me the most. I became fascinated to the point of obsession. I did plenty of research before my flight; however, experiencing aerial photography firsthand has given me better insight to its demands. I’d like to share some quick tips with you.

1. Time of Day
Just like landscape photography at ground level, lighting will be much softer at the beginning and end of the day, providing better contrast for your photos. Who doesn’t love a good golden hour? in order to schedule the best time of day, I would contact the company or pilot that you are going through and plan accordingly. You should also think about the direction of the sun so you can avoid shooting directly into it. The Photopills app is a great resource by showing the location of the sun at a certain time of day. In my case, summertime in Iceland provided 24 hours of sunlight, which truly warped my perception of time.
As far as weather is concerned, do not fly on a bluebird day! Clouds add great contrast and can create dramatic photographs. The weather in Iceland is incredibly unpredictable. If there is an opening in the weather, you take it! Our pilot was sensational at weaving in between rain showers to get to where we wanted to go. We even had to land for a bit until the weather cleared. “If you don’t like the weather in Iceland, just wait 5 minutes.”
2. Choosing the Right Gear
Every photographer knows that “the best camera is the one you have with you.” However, having the right gear for aerial photography can make or break your image. Renting a plane is not cheap. If you are spending that much money for photography purposes, please do not just bring a point-and-shoot camera. There are two aspects to consider when choosing a camera: Low light ISO performance and resolution. When flying either in the morning or evening, you will be shooting in fairly low light. You do NOT want to decrease your shutter speed to let more light in. This will create blurry, useless images. Increasing your ISO is the recommended option to keep your photos sharp. Just be wary of the fact that you are increasing the “noise” of your image when increasing your ISO, so don’t overcook it. Full frame cameras are the best option for ISO performance and resolution. The more megapixels the better. This way you can crop your photos and create the composition you desire without losing too much detail. I used a crop sensor APC-S, which I would consider to be the bare minimum camera choice for aerial photography.
As far as lenses go, I would recommend a good 24-70mm f/2.8 zoom lens (16-50mm crop sensor equivalent). This will give you the most versatility for compensating for light and framing your images. I’ve heard the case for prime lenses. They may be sharper; however, changing lenses is such a hassle in close quarters and no one wants to miss the shot and tell the pilot to circle back around. Also, f/2.8 will help you immensely in low light situations. I would also recommend using a wide-angled lens (16-35mm minimum) to get interior shots of the plane and passengers. Multiple camera bodies with these lenses attached would be ideal.
I also used a circular polarizer and ditched the lens hood. There was significant reflection from the sunlight hitting the rivers. I was able to manage the glare with a circular polarizer. Keep in mind you will be losing 1 to 2 stops of light depending on the polarizer you purchase. Unfortunately, the good ones are not cheap, but it saved a lot of my images.

3. Choosing the Right Settings.
There are 3 settings to consider when shooting in manual mode: aperture, ISO, and shutter speed. Shutter speed being the MOST IMPORTANT! No one likes a blurry photo. I kept my shutter speed around 1/1000 second or faster to keep my image as sharp as possible. There is going to be quite a bit of vibration in any aircraft. I’d recommend turning on your Image Stabilization on your lens if available. You can decrease your shutter speed with a wider angle lens; however, you must increase it if you choose to use a telephoto lens. With aerial photography, I’d like to set my aperture around f/5 to f/11. If you do not have a subject in the foreground (such as a straight down shot) you can decrease it to f/2.8 if you’d like. If you reach 1/1000 shutter speed, and f/2.8, when shooting straight out, it may be time to bump up the ISO. Additionally, I always shoot in RAW as it gives me more versatility in post production.
Hope you enjoyed these quick tips! If you have any questions or would like to add anything, please do so in the comments below.